Let's build an ajax form with Alpine.js
In the previous post, we built a tab navigation with Alpine.js and I said I wanted to bring you a more complex example. So, let’s build a regular contact form like this:
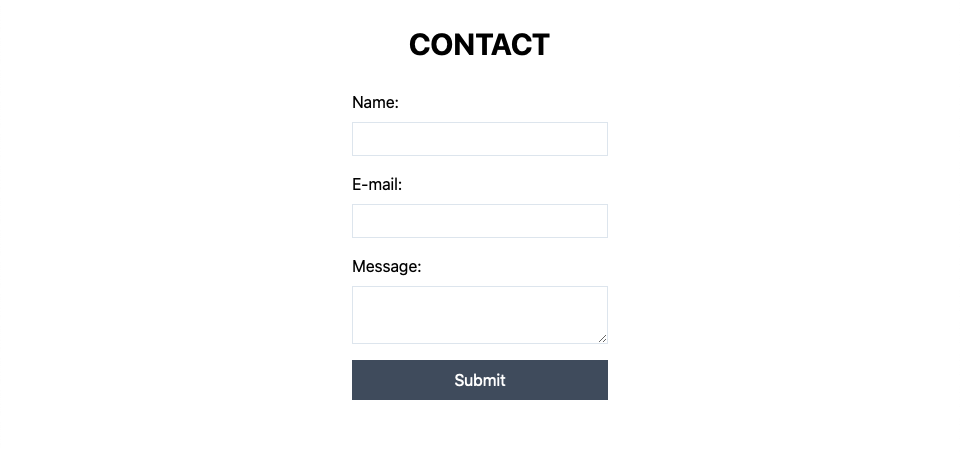
The catch is that we will send the data through ajax and handle all the form data with Alpine. I have done this countless times with vanilla JS or jQuery and it is always a monotonous task. You have to get all of the elements by reference, access their values and then send the data. Alpine (and other frontend frameworks) make this task a breeze.
As I said, this will be a simple form (name, email, message submit button) , but if you get the idea behind the implementation, you can apply it in more advanced situations. You can go to this Github repository to get the code and follow along from the master branch, or use the develop branch to get the final result. This is the important part:
<form action="/contact" method="POST" class="w-64 mx-auto">
	<div class="mb-4">
		<label class="block mb-2">Name:</label>
		<input type="text" name="name" class="border w-full p-1">
	</div>
    <div class="mb-4">
		<label class="block mb-2">E-mail:</label>
        <input type="email" name="email" class="border w-full p-1">
	</div>
	<div class="mb-4">
		<label class="block mb-2">Message:</label>
		<textarea name="message" class="border w-full p-1"></textarea>
	</div>
	<button class="bg-gray-700 hover:bg-gray-800 text-white w-full p-2">Submit</button>
</form>
That’s the basic HTML structure of the form. Up to now, there’s no javascript at all, it’s just a regular form that would work with a page reload. Now, let’s sprinkle some Alpine.js on it. Last time, I added the data object inline inside the x-data. This time, since that object will be more convoluted, I’ll show you that you can do most of the “heavy lifting” inside a script tag as such:
<script>
    function contactForm() {
      return {
        formData: {
          name: '',
          email: '',
          message: ''
        },
      }
    }
</script>
Then you just need to add that function call inside the x-data:
<form action="/contact" method="POST" class="w-64 mx-auto" x-data="contactForm()">Now, let me present you the x-model directive. This keeps input elements in sync with the component data. We have the formData object inside the component scope, so we can use them in the inputs and textareas like this:
<form action="/contact" method="POST" class="w-64 mx-auto" x-data="contactForm()">
    <div class="mb-4">
      <label class="block mb-2">Name:</label>
      <input type="text" name="name" class="border w-full p-1" x-model="formData.name">
    </div>

    <div class="mb-4">
      <label class="block mb-2">E-mail:</label>
      <input type="email" name="email" class="border w-full p-1" x-model="formData.email">
    </div>

    <div class="mb-4">
      <label class="block mb-2">Message:</label>
      <textarea name="message" class="border w-full p-1" x-model="formData.message"></textarea>
    </div>
    <button class="bg-gray-700 hover:bg-gray-800 text-white w-full p-2">Submit</button>
</form>
In vanilla JavaScript, you would probably have to grab the element with something like getElementById and then access its value. With x-model, you don’t have to worry about it. As you type in the input element, your data object is automatically updated with whatever you typed.
Now, as for the ajax part, let’s just use the fetch API, so we don’t have to pull an external dependency, but you can adapt this to your needs of course:
function contactForm() {
	return {
		formData: {
			name: '',
			email: '',
			message: ''
		},
		message: '',

		submitData() {
			this.message = ''

			fetch('/contact', {
				method: 'POST',
				headers: { 'Content-Type': 'application/json' },
                body: JSON.stringify(this.formData)
            })
			.then(() => {
				this.message = 'Form sucessfully submitted!'
			})
			.catch(() => {
				this.message = 'Ooops! Something went wrong!'
			})
		}
	}
}
and add this paragraph before the form closing tag:
<p x-text="message"></p>If you don’t understand what the .then and .catch statements are, dont' worry, you can check out this article about Promises. I’ll probably do a blog post about it in the future, stay tuned. Basically, this whole submitData method will do a POST request to the /contact route and pass the form data as a stringified JSON. If everything is successful the .then block is executed, if there's and error in the response, the .catch is executed.
Now, we have to call this method upon form submission. The form element emits a submit event, so we can listen to it using the x-on directive, and since we don’t want to reload the page we add the .prevent event modifier to sort of “hijack” the form submission and use our own method “submitData”:
<form action="/contact" method="POST" class="w-64 mx-auto" x-data="contactForm()" @submit.prevent="submitData">That's it! You’ve got yourself a working ajax form built with Alpine.js. But let’s take a step forward and add some dynamic styling to the submit button to improve the user experience:
Add this style tag inside the head (I'll just add this style because as of now, TailwindCSS does not support disabled state out of the box):
<style>
    button:disabled {
      cursor: not-allowed;
      opacity: 0.5;
    }
</style>
Now, replace the old submit button with this one:
<button class="bg-gray-700 hover:bg-gray-800 disabled:opacity-50 text-white w-full p-2 mb-4" x-text="buttonLabel" :disabled="loading"></button>The two interesting bits are the x-text directive and the :disabled. We will use the x-text to change the button's label dynamically and :disabled to, well, disable the button while the form is being submitted.
Update the contactForm function with the following:
loading: false,
buttonLabel: 'Submit',

submitData() {
	this.buttonLabel = 'Submitting...'
	this.loading = true;
	this.message = ''

	fetch('/contact', {
		method: 'POST',
		headers: { 'Content-Type': 'application/json' },
		body: JSON.stringify(this.formData)
	})
	.then(() => {
    	this.message = 'Form sucessfully submitted!'
    })
	.catch(() => {
		this.message = 'Ooops! Something went wrong!'
	})
	.finally(() => {
		this.loading = false;
		this.buttonLabel = 'Submit'
	})
}
That's it (again and finally)! We have a fully working ajax form built with Alpine.js and with some UX sugar. Do you want to see something specific using Alpine.js? @ me!